I have seen this giant wall picture DIY a few times on
pinterest so I finally decided to try it out. We have been living in our apartment for over three months now and our walls have been bare and empty. It is not like me to leave the walls like that. Usually art is one of the first things to go up when we move into a place. For some reason not this time though. I guess moving felt too surreal, like we weren't actually living here but passing through.
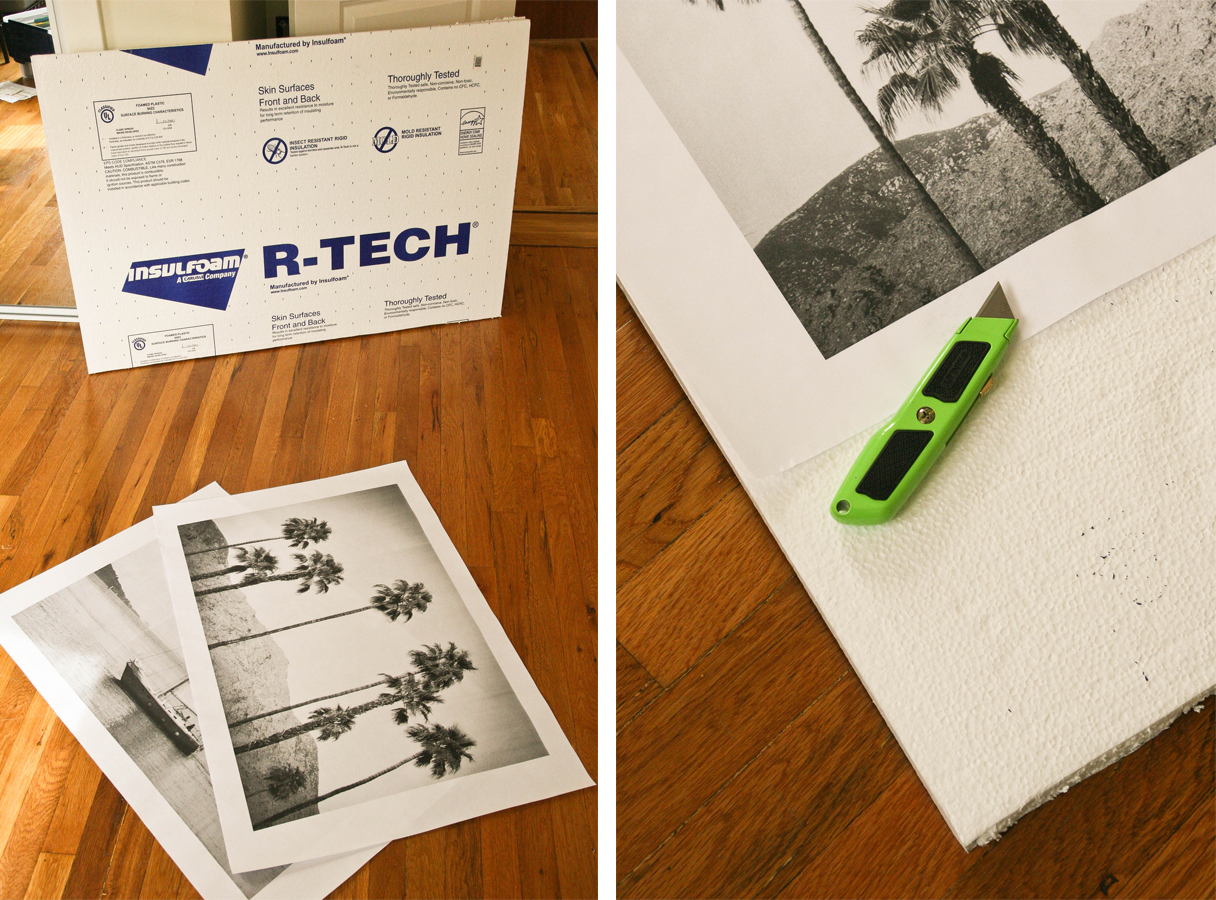
These are all the materials you will need. Ask for 'architect prints' at an office store.
So it was high time that I put our art up. Our art didn't feel right in this apartment though, we needed something new...something more California-like. So I found
this tutorial and gave it a go. It was really easy, and I even got Andy involved.
We found the foam board at Home Depot. It is foam insulation. We had them cut it into pieces so it would fit in our car.
I did a few things differently from the tutorial. The tutorial says to buy an 'architect print' from an office store. I guess they used to be cheap because only architects bought them once in a while. Since pinterest though, they must be selling more of these architect prints, thus the price increase. They wanted to charge me over $20 for a rough black and white print on paper! So be prepared for that. Luckily, Andy works with a lot of architects in solar, so he printed my pictures at work.
Crayons work better than colored pencils for coloring over black and white.
The other thing I did differently was color the picture. I only did it to one of my pictures because I wasn't sure how it would turn out. I loved it though! It gives the picture a very vintage antique feel. Which I don't always like, but in this case I think it worked. I colored with colored pencils first, but the color didn't show very well, so I switched to crayons which did the trick perfectly.
It was a really easy and fun way to get something more California feeling up on our walls. Along with the fact that it was super cheap. The foam board was only $2! We even had extra foam board, so we taped the edges and now use it as a bulletin board for ideas.
We wrapped the picture around the foam board (like a present) and taped the back with duck tape so the edges would look nicer. To hang the pictures we put tiny nails into the wall and stuck the foam pictures right into the nails. This method of hanging worked better than any other method.


No comments:
Post a Comment